Amid the bustle of the kitchen or by the grill, a meat thermometer serves as a tool of precision and assurance. It alleviates the worry of serving undercooked meat to your loved ones. Therefore, regardless of whether you’re a seasoned chef or an amateur cook, owning a reliable meat thermometer is indispensable. Today, I’ll guide you in selecting the most suitable meat thermometer for your needs.
Why Is It Important To Use a Meat Thermometer When Cooking?
In culinary practices, a meat thermometer stands as the definitive tool to ascertain the readiness of your dish. While one might possess a refined palate to discern a medium-rare steak or intuitively sense when a chicken has roasted to perfection, only a meat thermometer provides concrete validation.
Moreover, this instrument can be pivotal in detecting overcooking. Meat that reaches its ideal temperature exudes juiciness and tenderness. Conversely, prolonged exposure to heat can render it parched and devoid of flavor.
Given the inherent variability in meat cuts, using cooking time as a sole indicator of doneness is inherently imprecise. One cut might achieve perfection, while another might emerge undercooked or overcharred. In essence, for a seamless culinary experience, the meat thermometer remains indispensable.
What To Look for When Buying a Meat Thermometer?
1. Precision in Temperature Measurement
Opt for thermometers that guarantee an accuracy within a margin of 2 degrees Fahrenheit. This degree of precision is typical for high-quality thermometers and is pivotal for ensuring both food safety and achieving the preferred level of doneness.
2. Range of Temperature
Evaluate your cooking habits to determine the most suitable temperature range for the thermometer. If you often cook larger dishes with extended cooking durations, a thermometer with a broad temperature spectrum is ideal. However, a more restricted range might offer enhanced precision and swifter response times. It’s prudent to peruse the user manual to discern the maximum temperatures the device can endure, ensuring it can withstand both direct heat and occasional flare-ups.
3. Dimensions of the Probe
The probe should be sufficiently lengthy to penetrate the densest section of the food without being so thick that it jeopardizes the meat’s integrity. While a more compact probe might suffice for slender items like fish fillets or chicken breasts, a longer probe — approximately five inches in length — is more apt for sizable cuts, such as thick steaks or pork roasts.
4. User Interface
The interface of your thermometer should be both lucid and user-friendly, be it a straightforward dial or a sophisticated app. Rapid readability is paramount, enabling you to swiftly determine whether there’s a need to modify the temperature or cease the cooking process. If purchasing in-store, it’s beneficial to engage with a display model or inspect a representative sticker showcasing the display. For online shopping, consider viewing product demonstrations or exploring the application to assess the interface’s ease of use.
5. Battery Longevity
Certain grill thermometers necessitate frequent battery replacements, while some come with rechargeable features. It’s advisable to scrutinize the manufacturer’s specifications concerning battery duration to gain insights into both its longevity per use and the overall battery lifespan.
Main Types of Meat Thermometers
1. Thermocouples
Thermocouples boast the capability to gauge temperatures in a swift 2-5 seconds. These culinary instruments excel in versatility, apt for assessing both robust and slender foods. For enhanced readability, they can be fine-tuned or calibrated. However, it’s imperative to note that during the cooking process, they may not always provide pinpoint accuracy. Hence, it’s recommended to deploy them towards the end of cooking for precise measurements. Given their sensitivity, thermocouples are ill-advised for oven use.
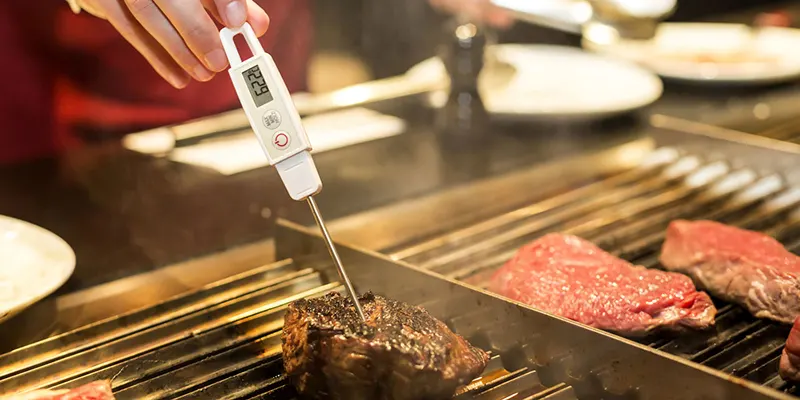
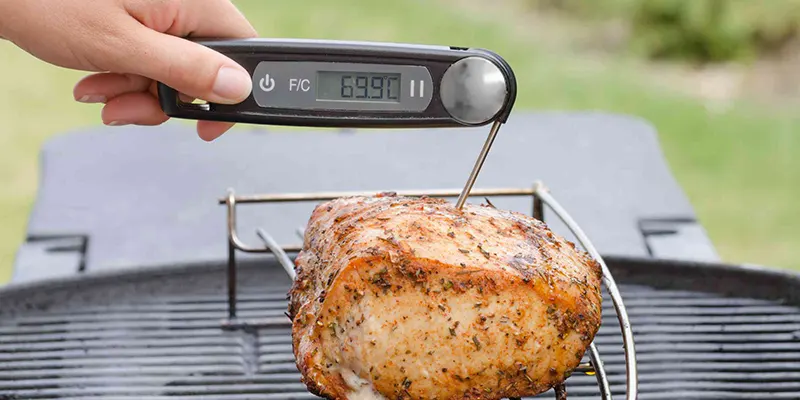
2. Digital instant-read thermometers
Digital instant-read thermometers, often more economical than digital probe thermometers, offer a precise accuracy of 0.1°C. Designed for use outside the oven, they are especially beneficial during or at the culmination of the cooking process to verify the food’s readiness. With their compact design, they occupy minimal storage space, making them perfect for swift temperature assessments.
3. Digital probe thermometer
Digital probe thermometers comprise two main components: a probe inserted into the meat and an external digital display, connected by a slender wire.
One of the primary benefits of a digital probe thermometer is its ability to remain in the meat throughout the oven cooking process, allowing for real-time monitoring of the internal temperature. Such probes are particularly suited for larger cuts of meat with extended cooking times, like turkeys or sizable roasts. Most of these thermometers come with clear digital readouts visible from outside the oven. Additionally, they often feature alarms set to alert the user once a specified temperature is reached, ensuring consistent awareness during the cooking process.
4. Dial Oven-safe bimetallic thermometers
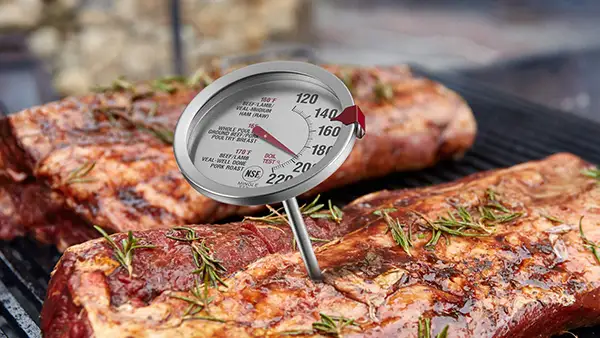
Dial bimetallic thermometers typically provide temperature readings within 1 to 2 minutes. Distinctively, these culinary tools can be used directly in foods during the cooking process, but it’s imperative to insert them at least 2 inches deep to ensure accuracy. They are particularly suitable for roasts, soups, and casseroles. However, their use is not recommended for thin food items. Due to their metallic composition, these thermometers can conduct heat, which occasionally results in less accurate readings.
How To Pick the Best Meat Thermometer
1. Speed and Accuracy in Temperature Readings
The paramount attributes of an exemplary kitchen thermometer are its rapidity and precision. It’s essential for the device to swiftly provide a consistent temperature reading, eliminating the uncertainty that arises with slowly incrementing measurements. An ideal thermometer should span the entire spectrum of home cooking temperatures, ranging from below freezing (32°F) up to 400°F.
2. Sufficient Probe Length
The probe of the thermometer should be slender at its tip to minimize the loss of juices from the food. It should also be long enough to delve into the heart of substantial roasts or deep vessels. A lengthier probe has the added advantage of keeping one’s hands at a safe distance from the potential hazards of heat and steam.
3. Robustness
The resilience of a thermometer hinges on the protection its electronics have against potential intrusions from dust and moisture. This protection level is quantified by its IP (ingress protection) rating. This rating comprises two numerals: the first (ranging from 0-6) pertains to its resistance against solids, and the second (from 0-8) delineates its defense against liquids.
4. Clarity of Display
A thermometer should possess a display that facilitates swift and clear temperature readings. Digital screens with sizeable numerals are favored for their ease of reading. Moreover, a backlit display proves advantageous, especially during nighttime grilling or cooking in dimly lit environments.
5. Ease of Maintenance
Post-use cleanliness is imperative for a meat thermometer. Opt for designs devoid of minuscule recesses where grease and bacteria might accumulate. Some digital probe thermometers come with probes that are dishwasher-friendly, significantly simplifying the cleaning process.
6. Value for Money
Based on our observations, thermometers priced below $20 tend to be sluggish, lack in quality, and often bear striking resemblances to one another. Investing an additional $10 or $15 for a precise and superior-quality device is a prudent choice. However, spending significantly more may not be requisite for the majority of users.
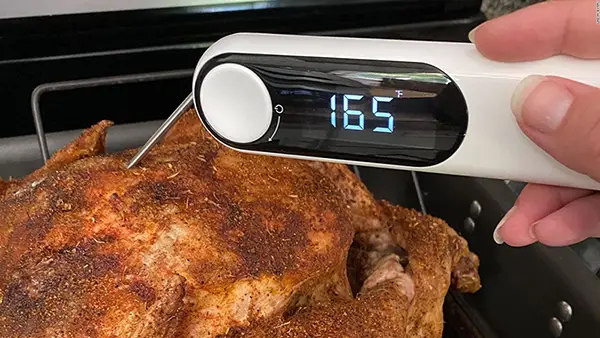
How To Use a Digital Thermometer for Meat?
When using a digital thermometer, it’s imperative to insert it into the densest section of the meat for the most precise temperature reading. Inaccurate readings will result if the probe is not inserted deep enough or if it penetrates too far, measuring the exterior rather than the core.
For bone-in cuts like a beef rib or lamb leg, ensure that the thermometer’s tip doesn’t touch the bone; otherwise, it will register the bone’s temperature.
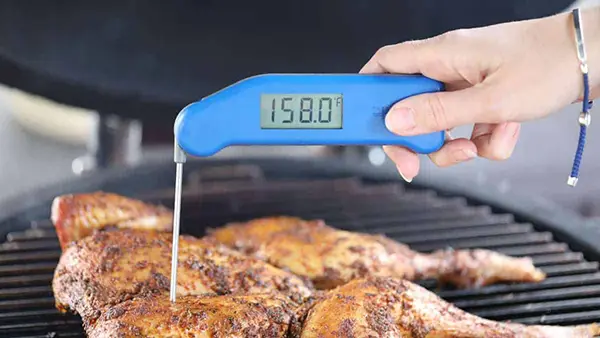
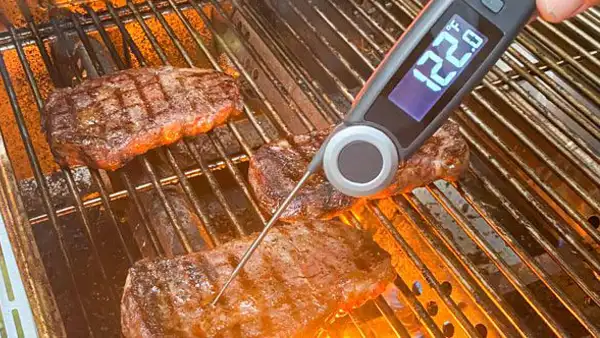
When gauging the temperature of meat cooked on a grill or pan, take the measurement away from the cooking surface to avoid capturing the additional heat.
For poultry, like whole chickens, the optimal location for temperature assessment is the thickest region of the thigh, specifically where it intersects with the breast, ensuring no contact with bone. After positioning your thermometer, it’s crucial to allow the reading to stabilize before confirming an accurate temperature.